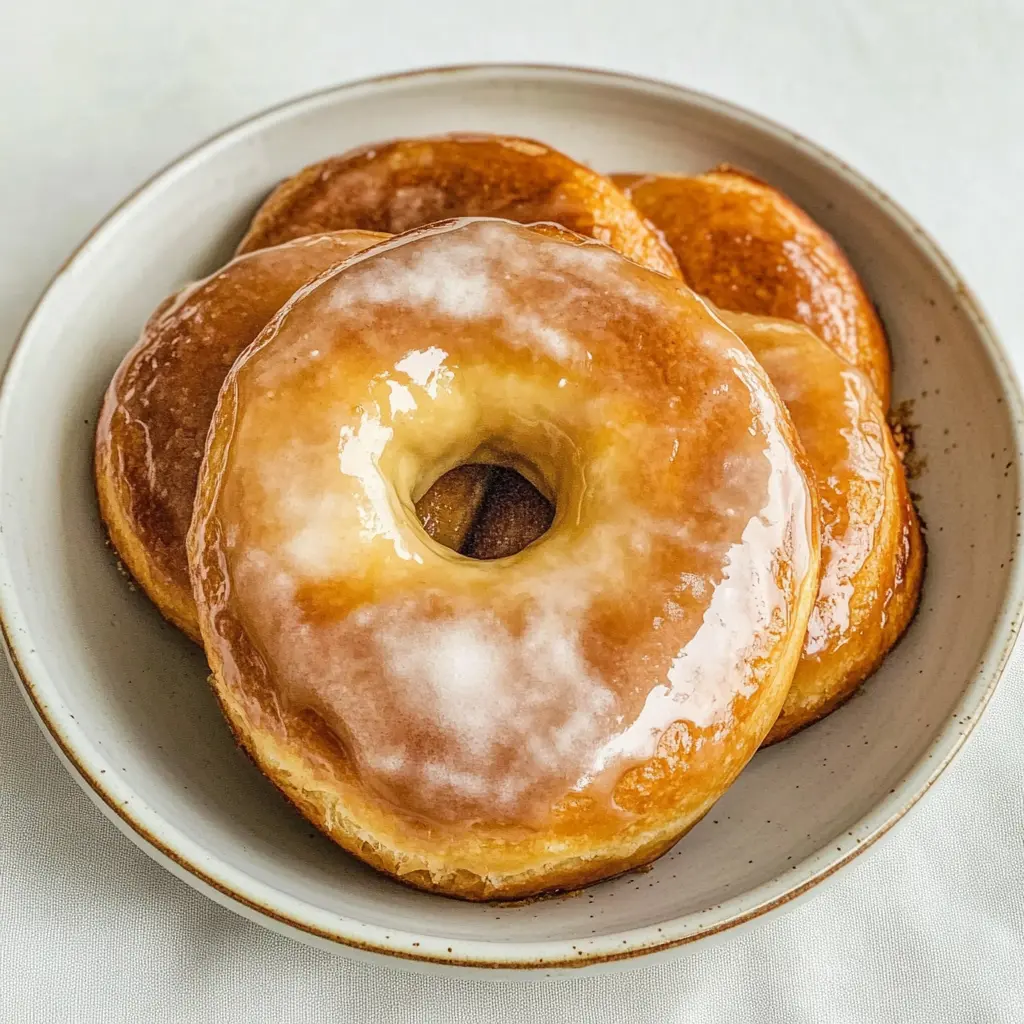
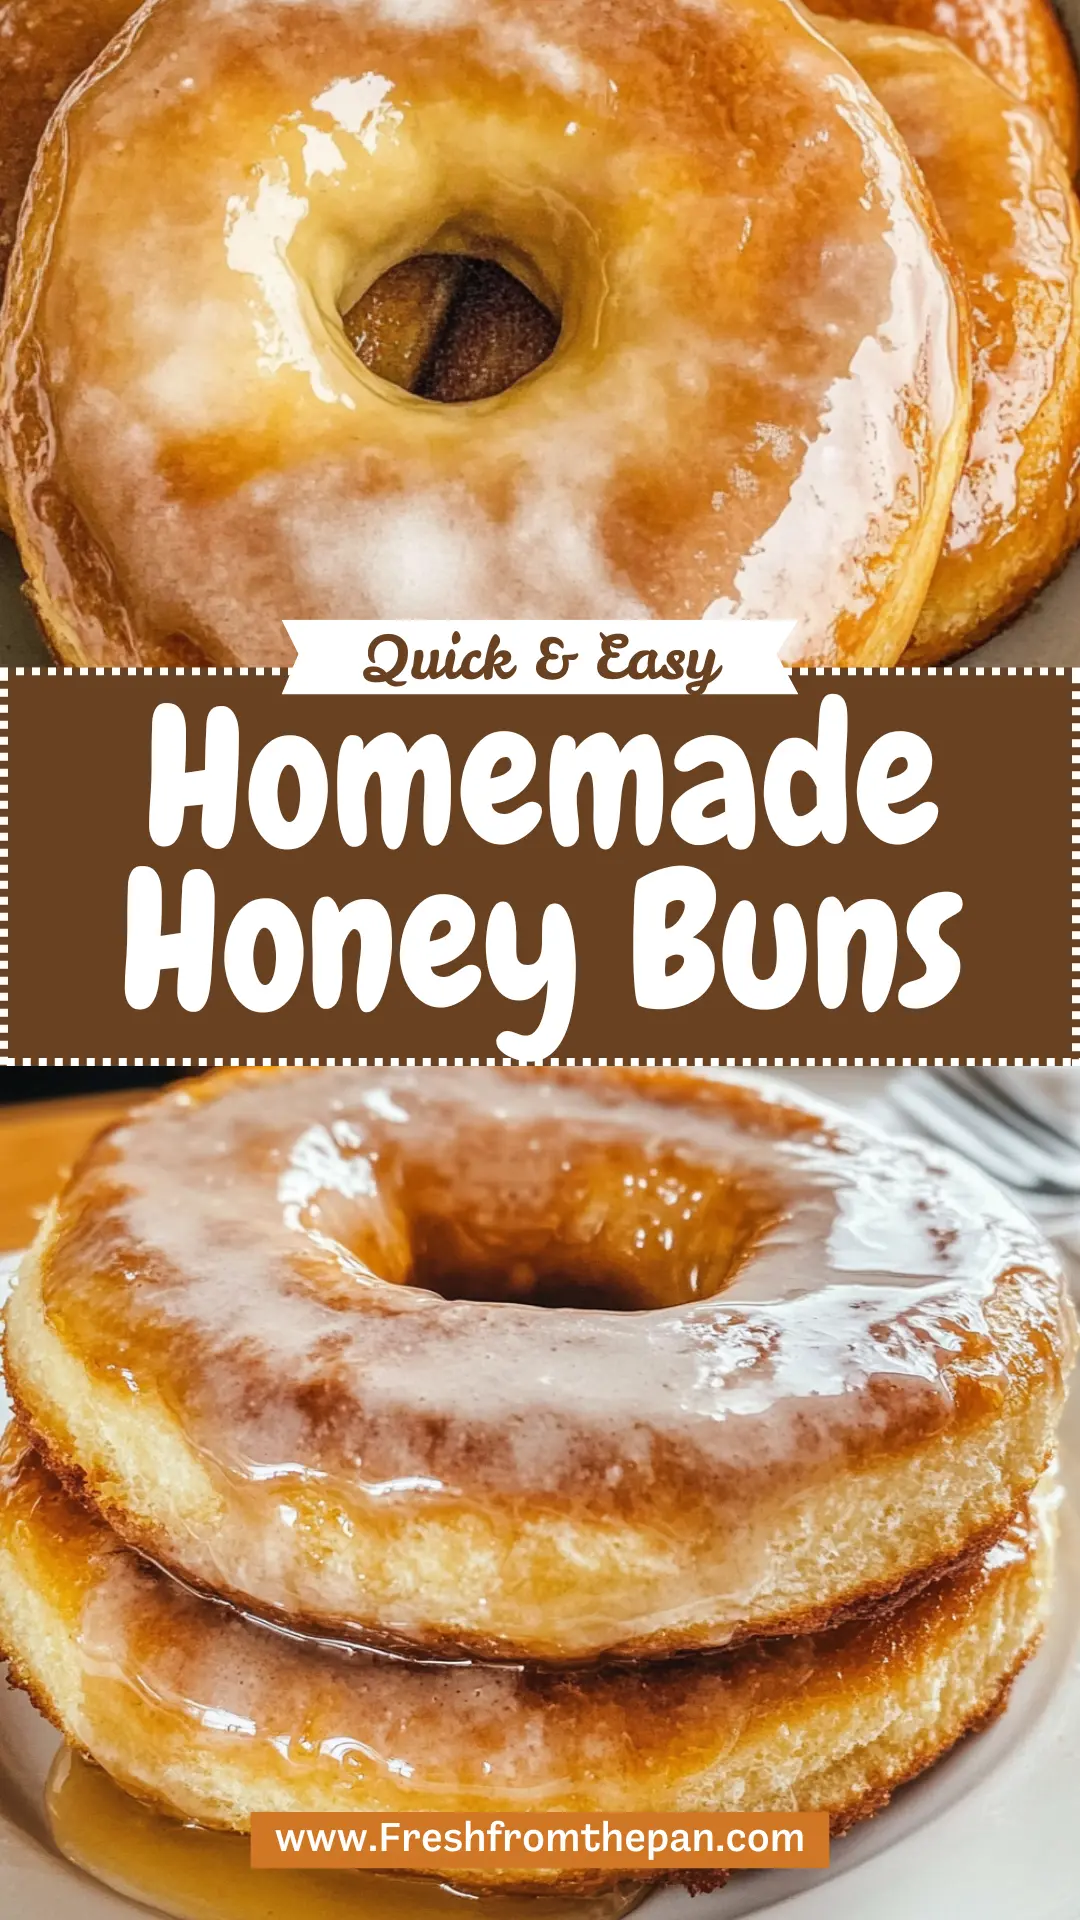
These homemade honey buns are soft, sweet, and perfect for breakfast or a tasty snack. With a delicious honey glaze, they are sure to make your mornings happier!
Making these beauties can be a bit messy, but that’s half the fun! I love to enjoy them warm, straight from the oven. You might have to share, but don’t worry, it’s worth it! 😄
Key Ingredients & Substitutions
Milk: Warmed milk is crucial for activating the yeast. You can use any type, but whole or 2% gives a richer flavor. If you’re dairy-free, almond or oat milk works well too.
Honey: Honey provides sweetness and moisture. Agave syrup or maple syrup can be good substitutes if you want a different flavor or are avoiding honey.
Active Dry Yeast: This is what helps your buns rise. Fresh yeast can also be used if available. Remember to adjust the quantity since fresh yeast has a different potency. You can often replace each packet with 0.6 ounces of fresh yeast.
All-Purpose Flour: This helps structure the buns. You could use bread flour for a chewier texture, or a gluten-free flour blend if you’re avoiding gluten.
Cinnamon: A touch of cinnamon adds warmth. If you’re not a fan, you can leave it out or swap it for nutmeg for a different spice profile.
How Do You Knead Dough Properly?
Kneading is essential for developing gluten, which gives your honey buns their texture. Here’s how to do it effectively:
- Start with a floured surface and place your dough ball in the center.
- Using your palms, push the dough away from you, then fold it over itself.
- Rotate the dough a quarter turn and repeat the process.
- Knead for about 5 minutes until it’s smooth and elastic. It should spring back when poked.
- If it’s too sticky, dust with a little more flour, but avoid adding too much, as this can make the buns dense.
Don’t rush this step! Proper kneading helps achieve that desired soft and fluffy texture in your honey buns.
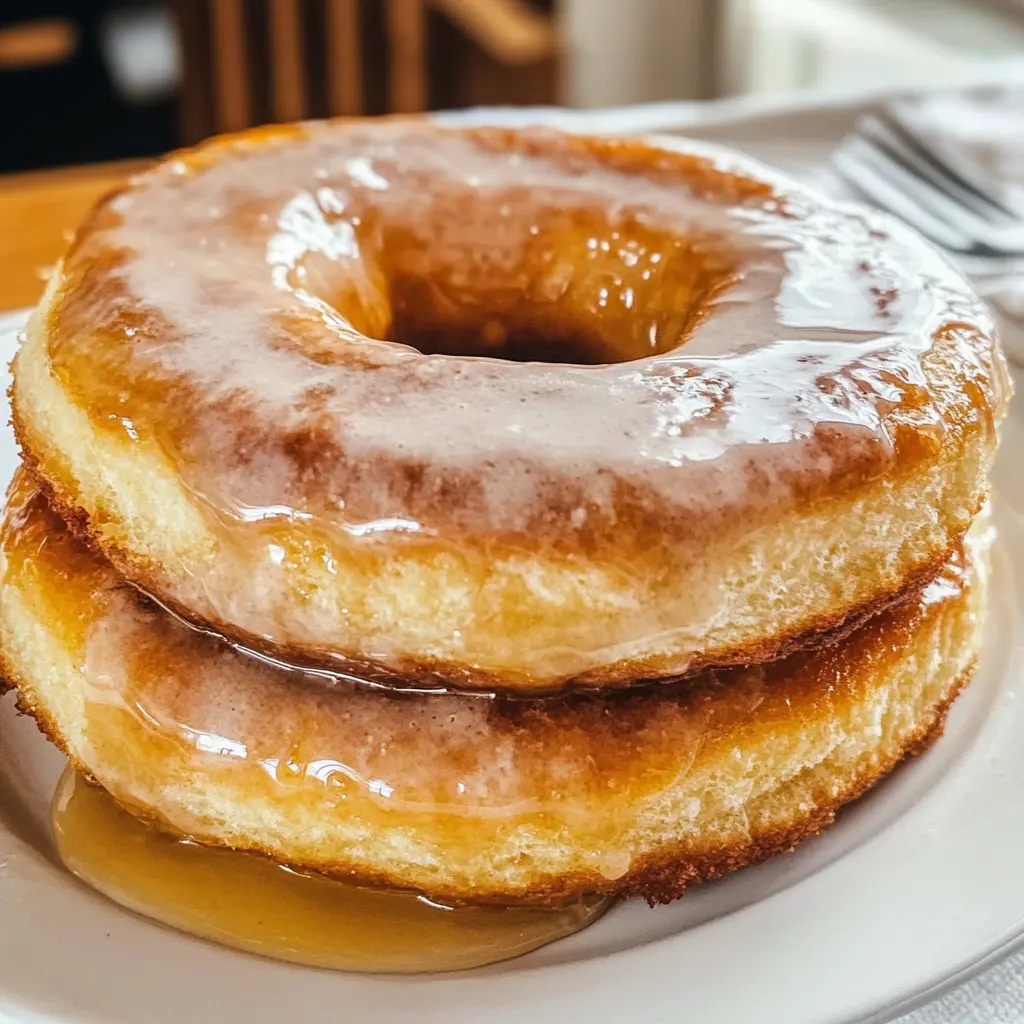
How to Make Homemade Honey Buns?
Ingredients You’ll Need:
For the Dough:
- 1 cup milk, warmed
- 1/4 cup honey
- 2 1/4 teaspoons active dry yeast (1 packet)
- 3 cups all-purpose flour, plus more for dusting
- 1/4 teaspoon salt
- 1/4 teaspoon ground cinnamon
- 1/4 cup unsalted butter, melted
- 1 large egg
For the Glaze:
- 1 cup powdered sugar
- 1-2 tablespoons milk (for glazing)
- 1 teaspoon vanilla extract
How Much Time Will You Need?
This delightful recipe takes about 20 minutes of active preparation time, plus 1 hour and 30 minutes for rising and baking. You’ll spend some time mixing and kneading the dough, allowing it to rise, and then baking the buns to perfection. So, set aside about 2 hours for a delicious treat!
Step-by-Step Instructions:
1. Preparing the Yeast Mixture:
In a small bowl, combine the warmed milk and honey. Then, sprinkle the active dry yeast on top. Let this mixture sit for about 5 minutes until it becomes bubbly. This means your yeast is working, and you’re ready to go!
2. Mixing the Dry Ingredients:
In a large mixing bowl, whisk together 3 cups of all-purpose flour, salt, and ground cinnamon. This will be the base of your dough, so make sure it’s well mixed!
3. Combining Ingredients:
Now, add the melted butter, the large egg, and the bubbly yeast mixture to the dry ingredients. Mix everything together until combined. Your dough should feel slightly sticky; if it’s too sticky, you can always dust with a little more flour.
4. Kneading the Dough:
Transfer the dough onto a floured surface and knead it for about 5 minutes until it’s nice and smooth. Form it into a ball and place it in a greased bowl. Cover this bowl with plastic wrap and let it rise in a warm spot for about 1 hour, or until it has doubled in size.
5. Shaping and Second Rise:
Once your dough has risen beautifully, preheat your oven to 350°F (175°C). Punch the dough down gently and roll it out on a floured surface to about a 1/2 inch thickness. Use a round cutter to cut out circles of dough. Place these circles on a greased baking sheet.
6. Final Rise Before Baking:
Cover the baking sheet with a kitchen towel and allow the dough circles to rise again for about 30 minutes. This step will help your honey buns to be light and fluffy!
7. Baking the Honey Buns:
Once the second rise is complete, pop your honey buns in the preheated oven. Bake them for 15-20 minutes, or until they turn a lovely golden color. Your kitchen will start to smell wonderful!
8. Preparing the Glaze:
While your buns are baking, get started on the glaze. In a bowl, mix the powdered sugar, 1-2 tablespoons of milk, and the vanilla extract until smooth. Adjust the milk to get your desired consistency.
9. Glazing and Serving:
After the buns have baked, let them cool slightly on the baking sheet before glazing. Drizzle the glaze generously over the warm honey buns. Serve them warm and enjoy the delicious sweetness!
Can I Use Whole Wheat Flour Instead of All-Purpose Flour?
Yes, you can substitute whole wheat flour for all-purpose flour, but keep in mind that the texture might be a bit denser. I’d recommend starting with 50% whole wheat and 50% all-purpose flour for the best balance. You may need to add a little extra liquid since whole wheat flour absorbs more moisture.
How Can I Make These Honey Buns Vegan?
You can easily make these honey buns vegan by substituting the egg with a flax egg (1 tablespoon ground flaxseed mixed with 2.5 tablespoons water, let it sit for 5 minutes to thicken) and replacing the butter with a vegan butter alternative. Honey can be swapped with maple syrup or agave syrup for a completely vegan-friendly option!
Can I Prepare the Dough the Night Before?
Absolutely! After kneading the dough, you can cover it tightly with plastic wrap and refrigerate it overnight. The next day, allow the dough to come to room temperature and rise for about 1-2 hours before you roll it out and shape your buns.
What’s the Best Way to Store Leftover Honey Buns?
Store any leftover honey buns in an airtight container at room temperature for up to 3 days. If you want to keep them longer, wrap them tightly and freeze for up to a month. To reheat, simply place them in a warm oven for a few minutes until warmed through!
