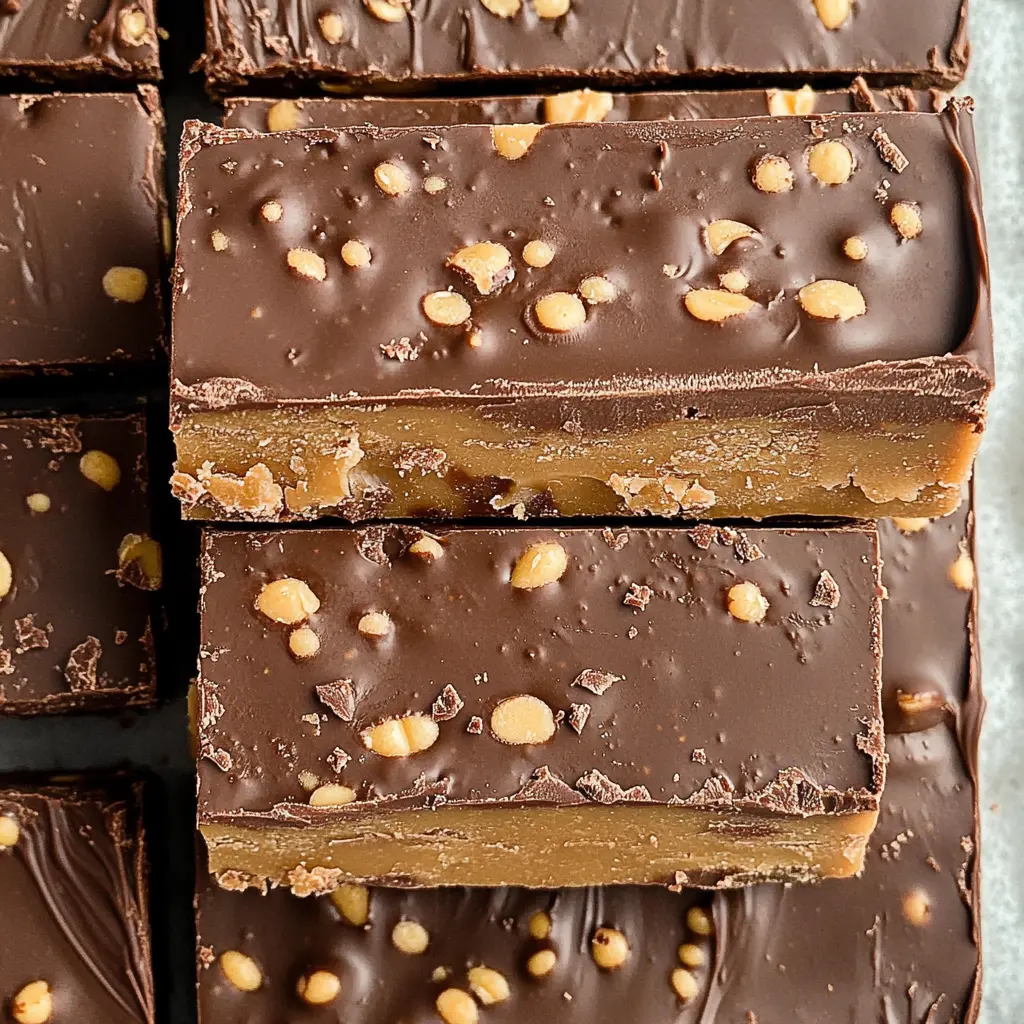
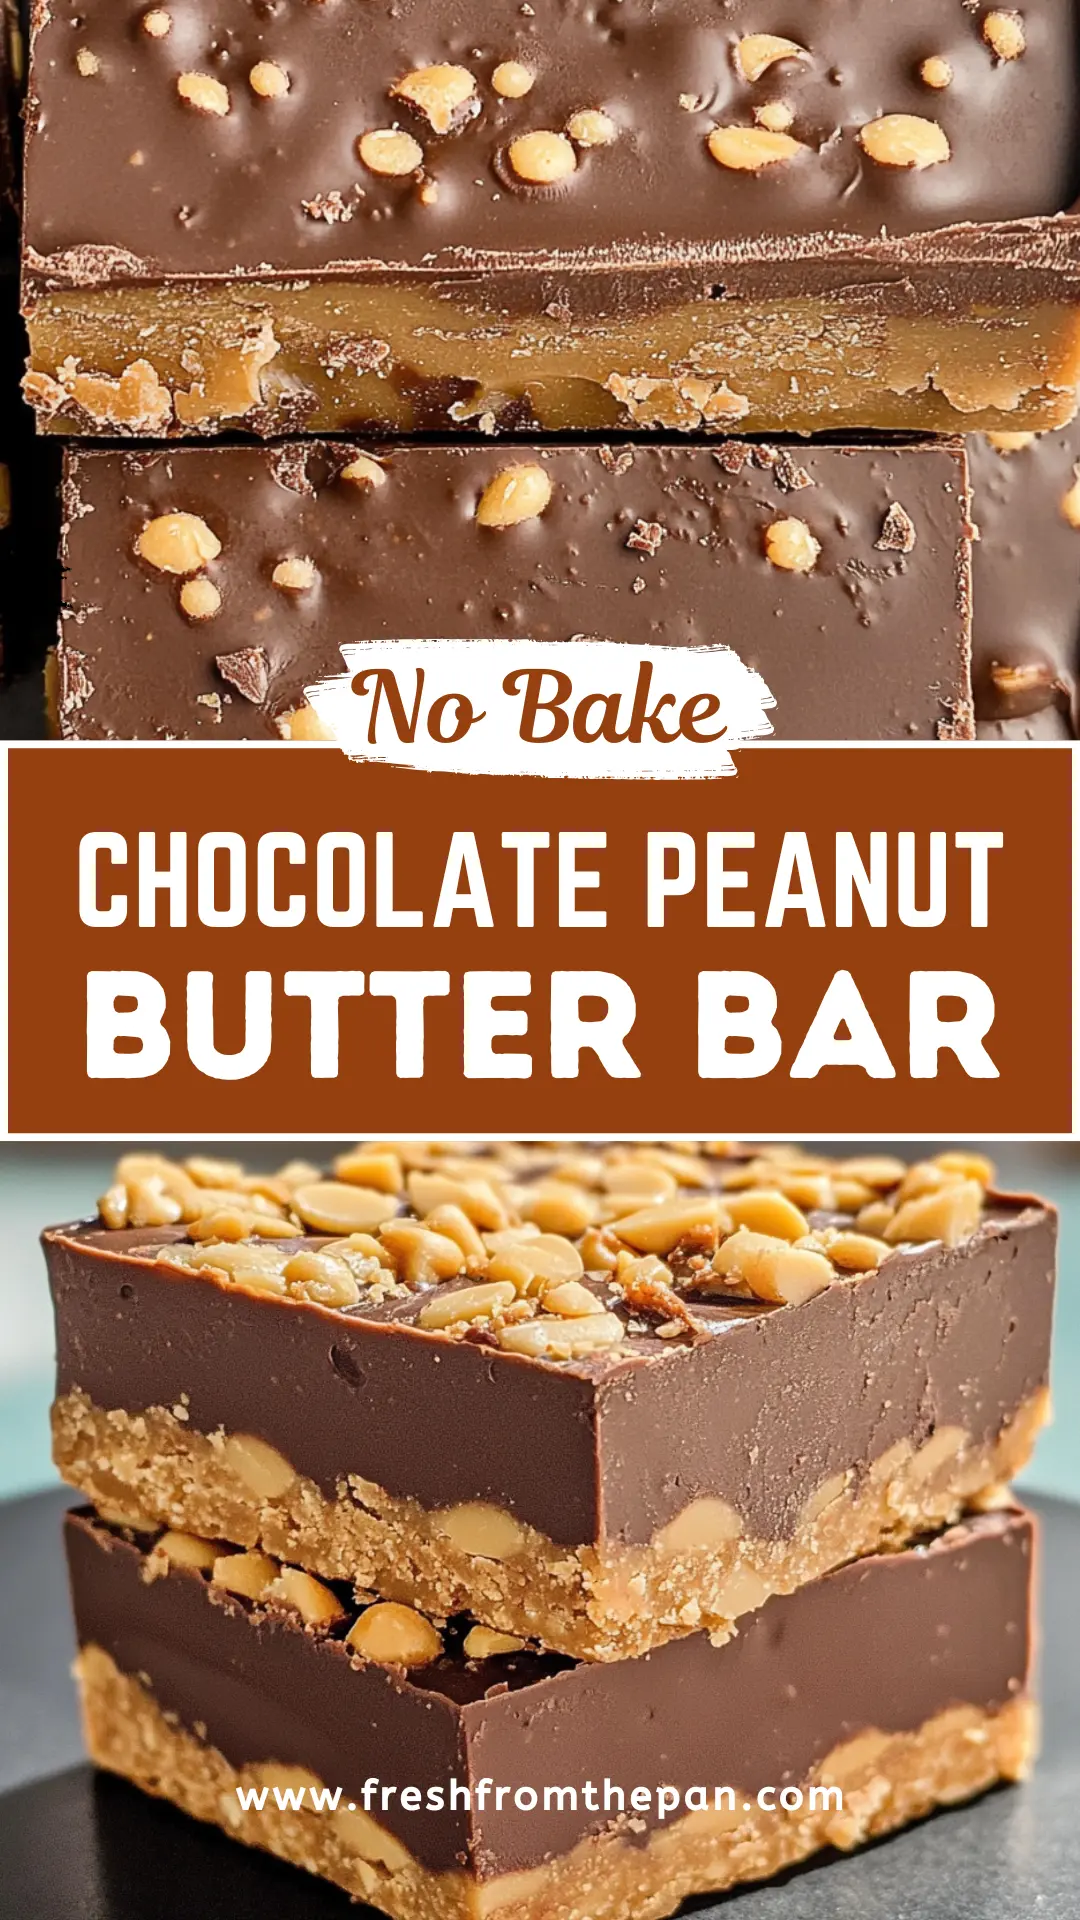
These No Bake Chocolate Peanut Butter Bars are a sweet treat that’s super easy to whip up! With creamy peanut butter, rich chocolate, and a crunchy layer, they’re simply mouthwatering!
Who needs a stove when you can mix everything together and chill? I always find myself sneaking a piece before they even set. It’s nearly impossible to resist! 😋
These bars are perfect for a quick dessert or snack. Just mix, press, and let them chill. Trust me, you’ll want to share, but it might be tough! Enjoy every bite!
Key Ingredients & Substitutions
Natural Peanut Butter: This is the star of the show! I love using natural peanut butter for its rich flavor and creamy texture. If you’re allergic or prefer a different taste, try almond or cashew butter as great substitutes.
Honey or Maple Syrup: Both sweeteners work well here. I’m a fan of honey for its thick consistency, but if you’re vegan, opt for maple syrup. Agave nectar is another alternative you could use.
Rolled Oats: These give the bars a hearty texture. If you need a gluten-free option, look for certified gluten-free rolled oats. You could also use quick oats for a slightly softer texture, but keep an eye on the mixture’s consistency.
Powdered Sugar: This sweetens without adding graininess. If you’re looking to cut sugar, try powdered coconut sugar or stevia as alternatives, although this might alter the bars’ texture.
Chocolate Chips: Use semi-sweet or dark chocolate for a more intense flavor. Personally, I like milk chocolate for a sweeter touch, but feel free to mix in some white chocolate for fun!
Coconut Oil (or Butter): I prefer coconut oil for its slight coconut flavor and healthier fats. If you don’t have it, regular butter does just fine, but it’ll give a different taste.
How Do I Ensure My Peanut Butter Layer Stays Firm?
The key to getting your peanut butter layer just right is mixing well after adding the oats and powdered sugar. Here’s how to ensure it’s firm and holds together:
- After melting the peanut butter and sweetener, mix until fully combined before adding the dry ingredients.
- Use a sturdy spatula or your hands to mix in the oats and powdered sugar until a thick dough forms. The more you mix, the better it holds.
- Press the mixture firmly into the bottom of the pan. This helps the bars retain their shape once cut.
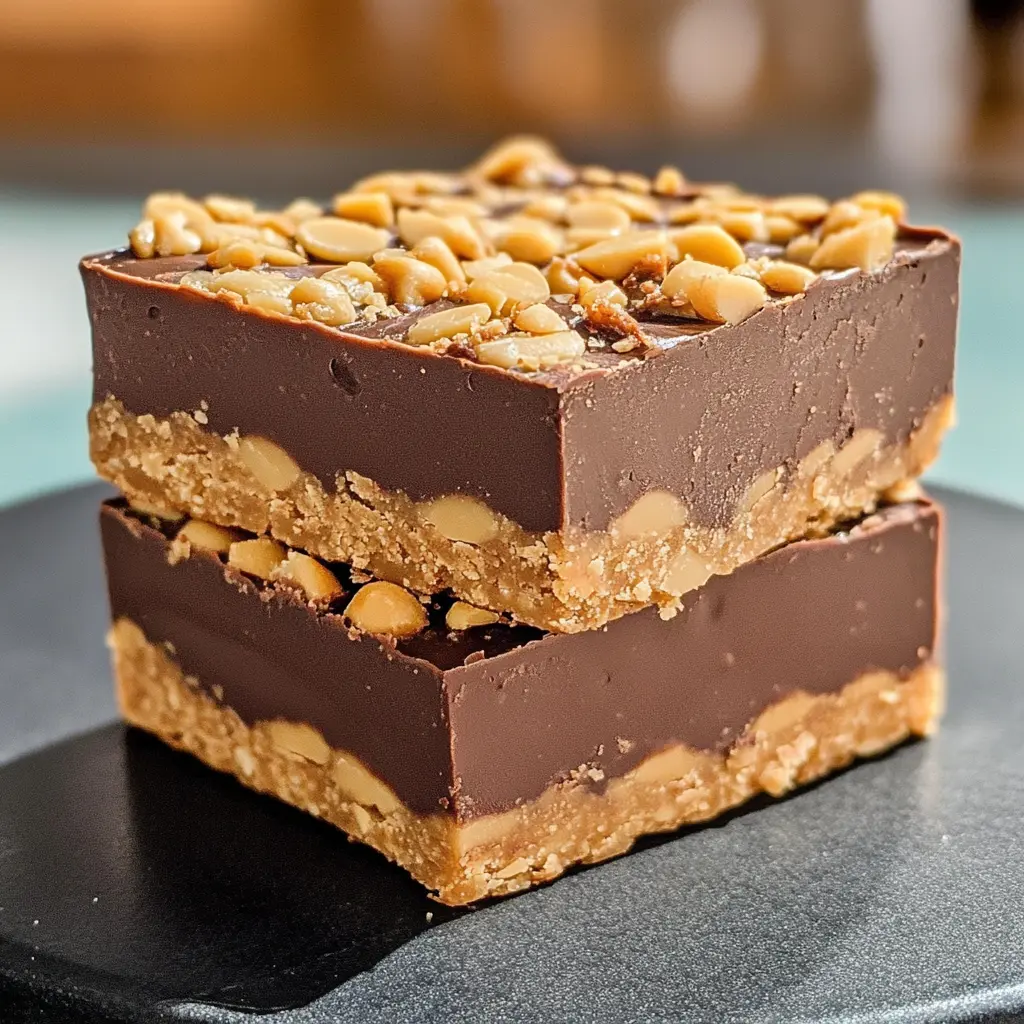
How to Make No Bake Chocolate Peanut Butter Bars
Ingredients You’ll Need:
Base Layer:
- 1 cup natural peanut butter
- 1/2 cup honey or maple syrup
- 1 cup rolled oats
- 1 cup powdered sugar
Chocolate Topping:
- 1/2 cup chocolate chips
- 2 tablespoons coconut oil (or butter)
How Much Time Will You Need?
This delicious recipe takes about 15 minutes to prepare and then about 2 hours to chill in the refrigerator. You’ll mix up the layers quickly, and then let them set while you wait for them to cool and get ready for slicing. So simple and rewarding!
Step-by-Step Instructions:
1. Melting the Peanut Butter Mixture:
Start by grabbing a medium saucepan and setting it over low heat. Add your peanut butter and honey (or maple syrup) into the pan. Stir it gently until everything melts together and is nice and smooth. This should only take a few minutes.
2. Mixing in the Dry Ingredients:
Once your peanut butter mixture is melted and combined, remove it from the heat. Now, add in the rolled oats and powdered sugar. Stir everything together until it’s well mixed and forms a thick dough. This will become the yummy base for your bars!
3. Pressing the Mixture into the Pan:
Next, take an 8×8-inch baking pan and line it with parchment paper for easy removal later. Transfer the peanut butter mixture into the pan and press it down evenly using a spatula or your hands. Make sure it’s packed tightly for a good base!
4. Melting the Chocolate:
In a microwave-safe bowl, combine the chocolate chips and coconut oil (or butter). Heat it in the microwave in intervals of 30 seconds, taking it out to stir in between each time. Keep heating and stirring until the chocolate is completely melted and smooth.
5. Adding the Chocolate Topping:
Carefully pour the melted chocolate over the peanut butter layer in your baking pan. Use a spatula to spread it gently and evenly across the top. This chocolate layer makes everything even more delicious!
6. Chilling and Cutting the Bars:
Now it’s time to let everything set! Place the baking pan in the refrigerator for at least 2 hours, or until the chocolate is firmly set. Once it’s ready, lift the bars out of the pan by holding the edges of the parchment paper, and place them on a cutting board. Cut into squares or rectangles, whichever you prefer!
7. Storing and Enjoying:
Store your delicious chocolate peanut butter bars in an airtight container in the refrigerator. They will stay fresh for up to one week. Enjoy these tasty treats whenever you need a sweet snack!
Can I Use a Different Sweetener Instead of Honey or Maple Syrup?
Absolutely! You can substitute honey or maple syrup with agave syrup or brown rice syrup if you prefer a vegan option. Just keep in mind that the sweetness level may vary slightly, so adjust to taste!
What If I Don’t Have Rolled Oats?
If you don’t have rolled oats, you can use quick oats as a substitute. They will still work well for the texture of the bars. However, avoid using instant oats, as they can make the mixture too mushy.
How Can I Store These Bars for Longer?
To store them for a longer period, you can freeze the bars. Cut them into squares, place them in a single layer on a baking sheet, and freeze until solid. Then, transfer them to an airtight container or freezer bags. They should keep well for up to 3 months!
Can I Add Other Mix-Ins to the Recipe?
Definitely! Feel free to add nuts, seeds, or dried fruit to the mixture for extra texture and flavor. Just make sure to adjust the proportions slightly to maintain the overall consistency of the bars.
